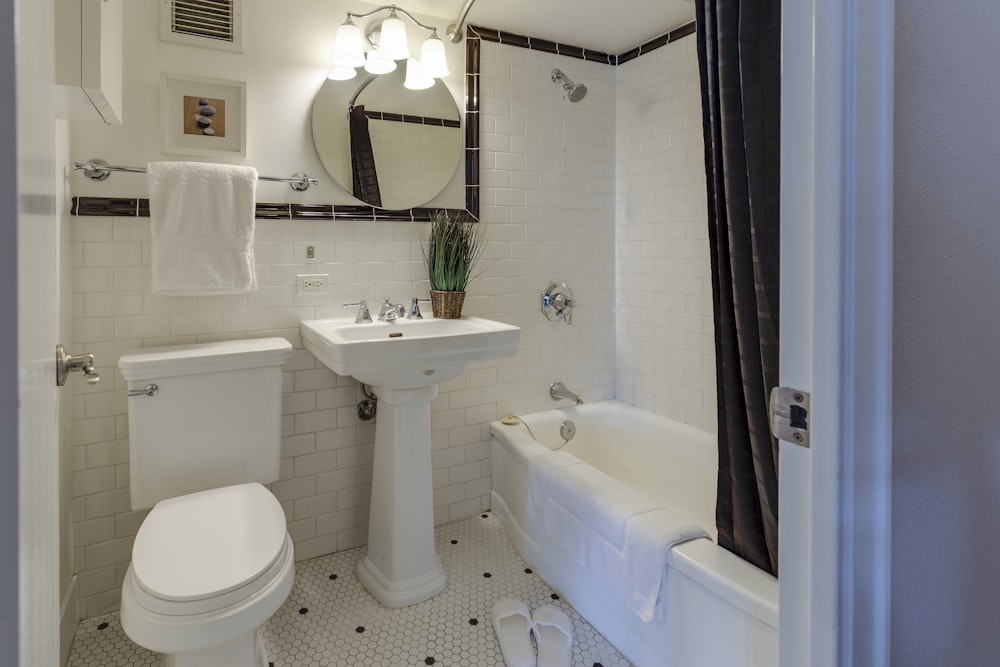
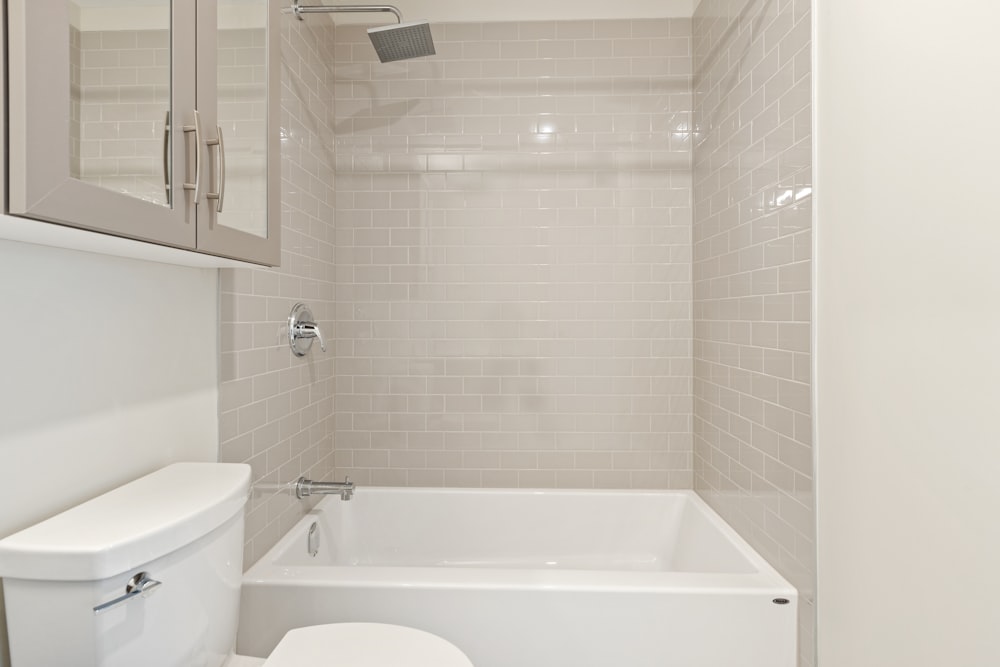
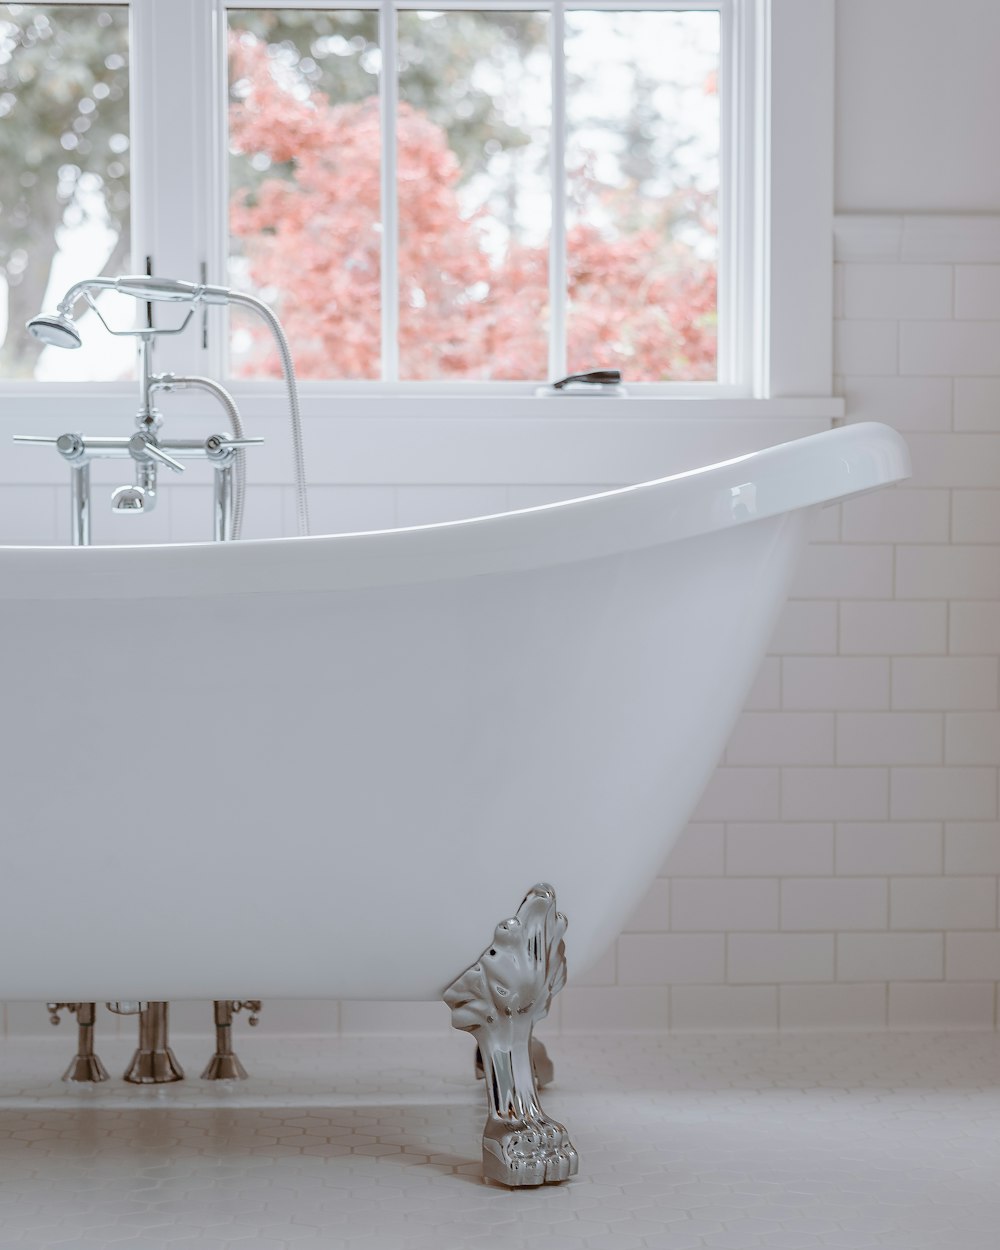
A clean bathtub is an essential part of any home. With proper cleaning and upkeep, you can maintain a hygienic and inviting environment in your bathroom. However, different types of tubs require different cleaning methods to prevent damage to the material. In this ultimate guide, we will provide a step-by-step approach to cleaning every type of bathtub, so you can keep your tub looking its best.

Porcelain enameled steel bathtubs are a popular choice among homeowners because they offer both durability and ease of maintenance. When it comes to cleaning, these tubs require minimal effort and can be kept sparkling clean with just a few simple steps.
To begin cleaning a porcelain enameled steel bathtub, gather the necessary supplies. You will need a soft sponge, a non-abrasive cleaner, and warm water. Avoid using harsh chemicals, abrasive sponges, or steel wool pads that can scratch or damage the surface of the tub.
- Wet the sponge with warm water and apply a small amount of the non-abrasive cleaner to the sponge.
- Begin wiping the tub in a circular motion, working your way from the top of the tub down to the bottom. This will help ensure that you don’t miss any spots or leave streaks behind.
- Pay special attention to any areas with visible stains or buildup. For tough stains, you can use a paste made of baking soda and water to gently scrub the area with the soft sponge. However, avoid using harsher chemicals or tools that can damage the enamel.
- Once you’ve cleaned the entire tub, rinse it thoroughly with water, making sure to remove all traces of the cleaning solution. Any leftover residue can leave behind a dull film, which can be unappealing and difficult to remove.
- Finally, use a clean towel to dry the surface of the tub. This will help prevent any water spots from forming and leave the porcelain enameled steel looking shiny and new.
Acrylic bathtubs are a popular choice among homeowners due to their lightweight, sleek design, and availability in various colors and styles. However, acrylic tubs require proper cleaning and maintenance to prevent scratches and damage to their surface. Here’s a step-by-step guide to help you clean your acrylic bathtub effectively.
- Gather the necessary materials for cleaning your acrylic bathtub. You will need a soft sponge, a non-abrasive cleaner, and warm water. Avoid using abrasive sponges, steel wool pads, or any cleaning products that contain ammonia or bleach, as they can cause damage to the surface of your acrylic tub.
- Fill your tub with warm water and add a few drops of dish soap or a gentle, non-abrasive cleaner to the water.
- Using a soft sponge or cloth, clean the entire surface of the tub in a circular motion. Be sure to clean the corners and the edges of the tub thoroughly.
- Once you have finished cleaning the tub, rinse it thoroughly with warm water to remove any soap residue or cleaning solution.
- Use a soft cloth or towel to dry the tub. Avoid using a rough or abrasive cloth, as it can scratch the surface of the acrylic tub. Once the tub is dry, you can add a protective coat of wax to the surface to help prevent future scratches or damage.
In addition to regular cleaning, it’s essential to maintain your acrylic bathtub by avoiding harsh chemicals or cleaning products. Also, it’s important to be careful with the type of objects you put in the tub to prevent scratches or damage to the surface. Avoid placing metal objects or heavy items on the surface of your acrylic bathtub, as they can cause scratches and damage.
Fiberglass bathtubs are popular for their affordability and ease of installation. However, they are also known to be more prone to scratches and stains than other types of tubs if not cleaned and maintained properly. Fortunately, keeping your fiberglass bathtub clean is not difficult with the right approach.
To start, gather the necessary cleaning materials. You will need a soft sponge, a non-abrasive cleaner, and warm water. It’s important to avoid using abrasive sponges, steel wool pads, or any cleaning product that contains bleach, as these can cause damage to the surface of the tub.
When it comes to cleaning your fiberglass bathtub, a gentle touch is key. Start by wetting the surface of the tub with warm water. Then, apply the non-abrasive cleaner to the sponge and use a circular motion to gently scrub the surface of the tub. Pay special attention to areas with visible stains or build-up.
Once you have finished scrubbing the tub, rinse thoroughly with water to remove any remaining cleaning solution. Be sure to rinse well, as any leftover cleaning product can leave a residue or cause the tub to become slippery. Finally, use a clean towel to dry the tub and remove any remaining water spots.
It’s also important to note that preventative maintenance is crucial to keeping your fiberglass bathtub looking its best. Avoid using any harsh chemicals or abrasive tools, as these can scratch the surface of the tub. You can also consider applying a protective wax or polish to the surface of the tub to help repel water and prevent stains.
In addition to regular cleaning and maintenance, you can also take steps to prevent damage to your fiberglass bathtub. For example, avoid using bath mats with suction cups, as they can scratch the surface of the tub. Instead, opt for a non-slip mat or install non-slip strips on the bottom of the tub.
Enameled cast iron bathtubs are known for their durability and longevity. They are made of a heavy-duty material that can last for decades with proper maintenance. However, they can be easily scratched or damaged if cleaned with harsh chemicals or abrasive materials.
To clean an enameled cast iron bathtub, start by filling the tub with hot water and adding a small amount of dish soap. Let it sit for a few minutes to loosen any dirt or grime. Then, use a soft sponge or cloth to wipe the entire surface of the tub in a circular motion, taking care to remove any stubborn stains or build-up. Avoid using abrasive sponges or steel wool pads that can scratch the surface of the tub.
After cleaning, rinse the tub thoroughly with warm water to remove any remaining soap residue. You can also use a soft-bristled brush to reach difficult areas or to clean around the drain and overflow. Finally, dry the tub with a clean towel to prevent water spots or streaks.
For stubborn stains or discoloration, you can use a mixture of baking soda and water to make a paste. Apply the paste to the stained area and let it sit for a few minutes before scrubbing it gently with a soft sponge or brush. Rinse thoroughly with water and dry with a clean towel.
It’s also essential to avoid using harsh chemicals, bleach, or abrasive cleaners that can damage the enamel surface of the tub. Always use a non-abrasive cleaner, and test it on a small, inconspicuous area before applying it to the entire tub. With proper care and maintenance, your enameled cast iron bathtub can last for years to come.

Bathtubs Made of Cast Polymers (Like Cultured Marble, Granite or Onyx) If your bathtub is made of cast polymers like cultured marble, granite, or onyx, you will want to be extra careful during the cleaning process. These materials are often softer than other bathtub materials and can scratch easily. To clean cast polymer bathtubs, follow these steps:
- Clean with Mild Soap and Warm Water – Begin by cleaning the surface of your cast polymer bathtub with a mild soap and warm water. Be sure to use a non-abrasive cleaning pad or soft cloth to avoid any damage to the surface. Avoid using any cleaning products that are acidic or contain bleach, as these can cause discoloration and other damage to the surface.
- Rinse with Clean Water – After cleaning the surface, rinse it thoroughly with clean water to remove any soap residue. Be sure to dry the surface with a clean, soft cloth to avoid any water spots.
- Use a Non-Abrasive Cleaner for Stubborn Stains – For stubborn stains or discoloration, use a non-abrasive cleaner specifically designed for use on cast polymer surfaces. Be sure to follow the manufacturer’s instructions carefully and avoid using any abrasive cleaning tools, as these can cause damage to the surface.
Things To Avoid When Cleaning Your Bathtub
While it’s important to clean your bathtub regularly, there are some things you should avoid doing during the cleaning process to prevent damage to the surface. Here are a few things to keep in mind:
- Avoid Abrasive Cleaners and Tools – Using abrasive cleaners or tools can cause damage to the surface of your bathtub. This is especially important to keep in mind if you have a bathtub made of a softer material like cast polymer or acrylic. Stick to non-abrasive cleaners and soft cloths to avoid any scratches or other damage.
- Avoid Using Harsh Chemicals – Harsh chemicals like bleach or ammonia can cause damage to the surface of your bathtub, as well as create fumes that can be harmful to your health. Stick to mild soaps and cleaners, and avoid using any products that contain strong chemicals.
- Don’t Use Sponges or Scrub Brushes – Sponges and scrub brushes can also cause damage to the surface of your bathtub, especially if you use them with abrasive cleaners. Stick to non-abrasive cleaning pads and soft cloths to avoid any damage.
- Don’t Let Stains Sit Too Long – If you notice a stain or discoloration on your bathtub, don’t let it sit too long before addressing it. The longer a stain sits, the harder it can be to remove. Try to clean any stains or discoloration as soon as you notice them to prevent them from becoming more stubborn.
Conclusion Cleaning your bathtub may not be the most glamorous task, but it’s an important part of keeping your bathroom clean and hygienic. By following the tips in this guide, you can ensure that your bathtub stays looking its best for years to come. Whether you have a porcelain enameled steel bathtub, an acrylic bathtub, a fiberglass bathtub, an enameled cast iron bathtub, or a bathtub made of cast polymers like cultured marble, granite, or onyx, there are specific steps you can take to keep it clean and looking great. Remember to avoid abrasive cleaners and tools, harsh chemicals, sponges and scrub brushes, and to address any stains or discoloration as soon as you notice them. With a little bit of regular maintenance and care, your bathtub can continue to be a relaxing and enjoyable part of your home.
Today we’re going to walk you through the best way to clean your kitchen in a few simple steps.
First things first, before you begin you’ll want to gather all of your cleaning supplies so that you’ll have everything you need handy. After you’ve gathered your supplies you can start the kitchen cleaning process.
Next you’ll go around and pick up and trash or spoiled food and throw it away before taking out the trash. Nothing more to it, this step is pretty simple.
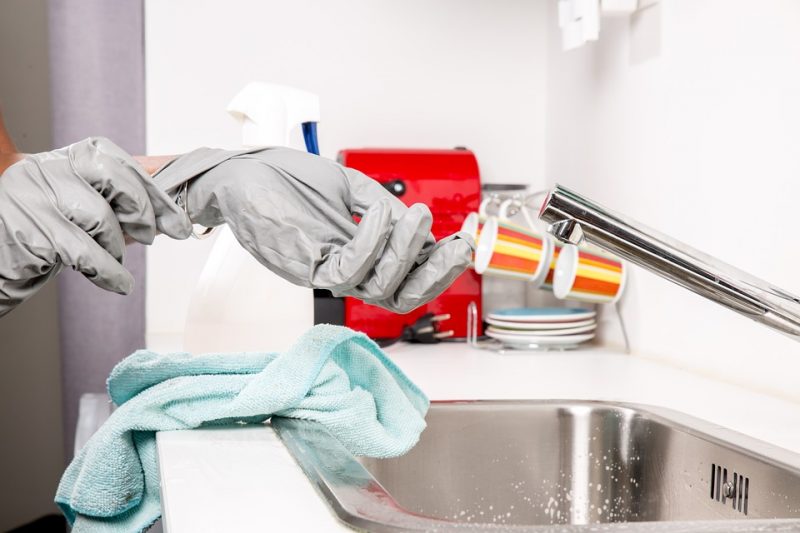
Do the dishes & clean the sink
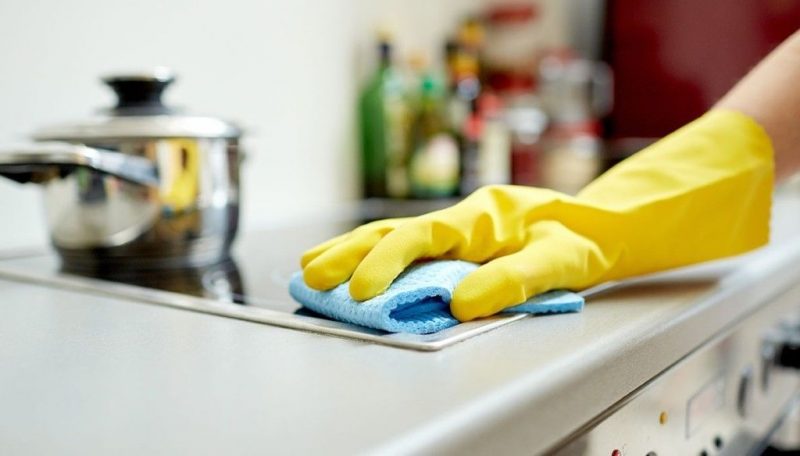
Once you’ve dusted, taken out the trash, done the dishes, and cleaned the sink you can now start to disinfect and clean all the touchable surfaces in your kitchen. This is your countertops, your microwave, drawer handles and knobs, the handles on your refrigerator (and the outside of it), and anything else that you or your family may have touched. Go around and spray the surfaces with your disinfectant and allow it to sit for at least 1 minute before taking your cleaning cloth to it.
The very last thing you want to do when cleaning any room in the house (but especially the kitchen) is clean the floors. You’ll work from the inside of the room to the outside of the room when sweeping, vacuuming, and mopping the floor so that you don’t have to backtrack.
And that’s really all there is to it when it comes to kitchen cleaning. The more you settle into a cleaning routine the easier it is to clean it each week.
Professional kitchen cleaning
Need help cleaning the kitchen in your home? Contact us today and see how one of our professional house cleaners can assist you.

Looking for some new and fresh ideas to help you spice up your household cleaning routine? Look no further.
Here are five genius household cleaning hacks that every homeowner needs:
Baseboards are everyone’s least favorite household chore, we get it. But that’s only because it’s a pain to clean them, until now. Stick a dryer sheet on the end of your broom and run it along the edges of your baseboards. Not only will this help you dust them, but it’ll also help fresh things up a bit too.
The coffee pot is probably one of the most neglected household appliances in your house. Of course, you use it every day, but how often are you actually cleaning it? Fill the pot with vinegar and run it through the coffee machine at night before you go to bed. This will help with the mineral build-up inside the coffee pot and it will make your coffee taste better.
Behind every squeaky clean home is a professional house cleaner that helps them make it happen. Whether you need help with once a month deep cleaning or routine weekly cleaning we’ve got you covered. Contact us today for a free estimate and to see how our professional house cleaners can help you achieve the goals of your household.

The living room is often the center focal point of ones home. It’s often known as the family room. This is where the family gathers after a long day, where you visit with friends and family, and where you enjoy the holidays. Because of that, it’s important to keep a clean living room. Today we’re sharing living room cleaning tips that will help you get your living room on the right track.
Living room cleaning tips
Declutter
The first thing you want to do when cleaning your living room is to make sure that it’s not cluttered. A lot of times people confuse clutter with dirt. Just because something is cluttered, doesn’t mean it’s dirty. So first things first, declutter your living room. Make sure everything has a home and if it doesn’t toss it in the donate pile.
Dust
Next thing you’ll do is go through and make sure everything is dusted. Grab your microfiber cleaning rag and dusting spray and wipe down any wood furniture, shelving, blinds, end or coffee tables, etc. This is also the time to go around and disinfect any surfaces that need disinfecting such as the remotes and the tables.
Divide
After you’ve decluttered and dusted, nows the time to divide and conquer. By that I mean, work section by section cleaning the windows, washing any upholstery covers, changing out any air fresheners, and cleaning the floors. It’s best to work from the inside of the living room out.
Need help cleaning your living room?
The key to a clean house is keeping consistency. That means you’ll need to clean often. We know this can be hard to do when you have a career and a family to take care of. Which is why we’re here to help. Our professional house cleaners live for this type of work. It’s what we’re here for. Contact us today for a free service estimate.